항해 개발일지(23.03.24)-5
팬명록 만들기
[POST 연습-응원등록하기]

1. 데이터명세
● 요청정보 : URL = /guestbook, 요청방식 = POST
● 클라(fetch) → 서버(flask) : name, comment
● 서버(flask) → 클라(fetch) : 메시지를 보냄 (응원 완료!)
우선 서버는 닉네임(name)과 댓글(comment)을 받아서 데이터를 저장해야 하므로

2. 클라이언트와 서버 연결 확인하기
서버코드 - app.py
클라이언트 코드 - index.html
3. 서버부터 만들기
from pymongo import MongoClient

client = MongoClient('내 URL')
db = client.dbsparta
기본 세팅되어있는 서버코드(app.py) 값에 name과 comment를 각각 넣어준다.
@app.route("/guestbook", methods=["POST"])
def guestbook_post():
    name_receive = request.form['name_give']
    comment_receive = request.form['comment_give']
    doc = {
        'name':name_receive,
        'comment':comment_receive
    }
    db.fan.insert_one(doc)

    return jsonify({'msg': '저장완료!'})
4. 클라이언트 만들기
두번째로 프론트엔드인 클라이언트 코드(index.html) 쪽을 살펴보기
function save_comment() {
       let name = $('#name').val()
       let comment = $('#comment').val()

       let formData = new FormData();
       formData.append("name_give", name);
       formData.append("comment_give", comment);

       fetch('/guestbook', { method: "POST", body: formData, }).then((res) => res.json()).then((data) => {
           alert(data["msg"]);
       });
}
formData에 (name,comment)를 쫙 태워서 fetch로 /guestbook을 날리면
alrert로 msg를 띄워주는 형식.

새로고침 후 mongoDB에 들어가서 확인하면 dbsparta에 fan 폴더가 생기고 오른쪽에 잘 나온걸 확인할 수 있다!
저장되면, 새로고침을 자동으로 하기 위해 window.location을 하기
fetch('/guestbook', { method: "POST", body: formData, }).then((res) => res.json()).then((data) => {
   alert(data["msg"]);
   window.lacation.reload()
});
댓글남기는 버튼 활성화 완료!
[GET연습-응원보여주기]
1. 데이터명세
● 요청정보 : URL = /guestbook, 요청방식 = GET
● 클라(fetch) → 서버(flask) : 없음
● 서버(flask) → 클라(fetch) : 전체응원 목록 보여주기
2. 클라이언트와 서버 연결 확인하기
3. 서버부터 만들기
모두 찾기
@app.route("/guestbook", methods=["GET"])
def guestbook_get():
    all_comments = list(db.fan.find({},{'_id':False}))
    return jsonify({'result': all_comments})
4. 클라이언트 만들기
프론트엔드에서는 받은데이터들을 착착착 붙여주기
        function show_comment() {
            fetch('/guestbook').then((res) => res.json()).then((data) => {
                let rows = data['result']
                console.log(rows)
            })
우선 console.log로 확인하기

우리는 name과 comment가 따로따로 필요하다.
그래야 temp_html을 만들때 거기에 넣어야하니까!
그러기 위해서는 rows를 돌려야한다.
        function show_comment() {
            fetch('/guestbook').then((res) => res.json()).then((data) => {
                let rows = data['result']
                rows.forEach((a)=> {
                    let name = a['name']
                    let comment = a['comment']
                })
이것도 위와 같이 console.log(name,comment)로 한번 확인하기

마지막으로 temp_html 넣어주고 append로 붙여줄 곳 지정하기!
let temp_html = `<div class="card">
                      <div class="card-body">
                        <blockquote class="blockquote mb-0">
                          <p>${comment}</p>
                           <footer class="blockquote-footer">${name}</footer>
                       </blockquote>
                  </div>
               </div>`
                })
            })
          $('#comment-list').append(temp_html)
+ result 값 밑에
$('#comment-list).empty()코드로 깔끔하게 지워주는 것 까지 완-
[og태그]
내 프로젝트를 서버에 올리기-인터넷에 배포!
<meta property="og:title" content="내 사이트의 제목" />
<meta property="og:description" content="보고 있는 페이지의 내용 요약" />
<meta property="og:image" content="이미지URL" />
http://myweb.eba-jz3mhczk.ap-northeast-2.elasticbeanstalk.com/
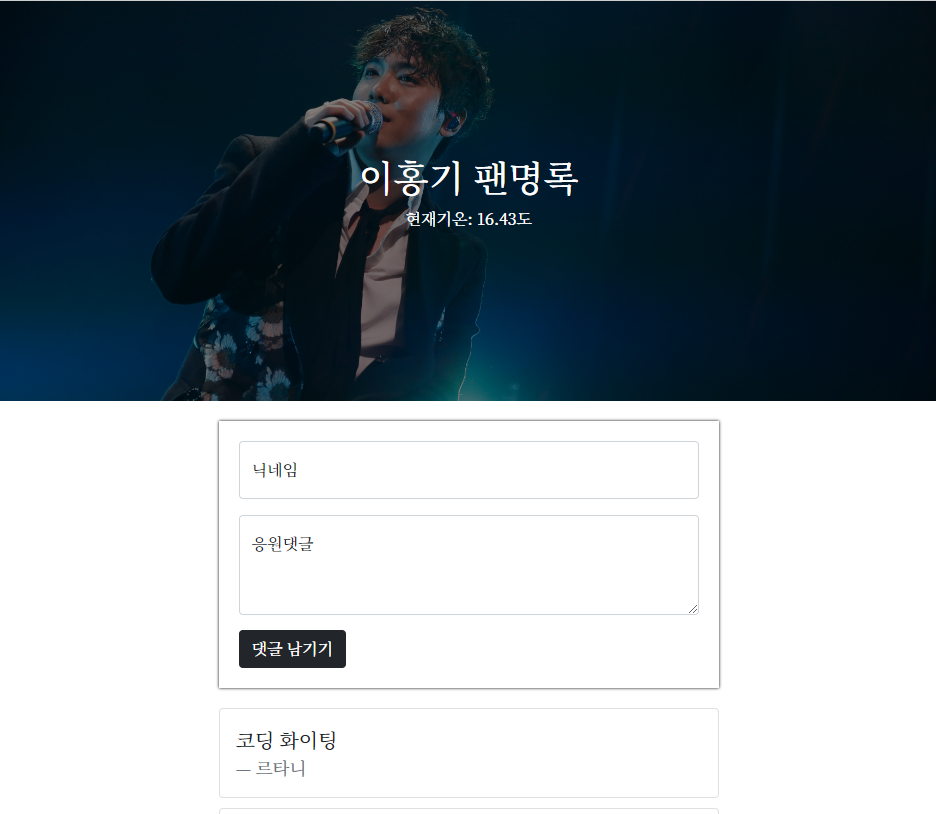
이홍기 팬명록
아티스트에게 응원 한마디!
myweb.eba-jz3mhczk.ap-northeast-2.elasticbeanstalk.com
ㅋㅋㅋㅋㅋㅋㅋㅋㅋ홍기찡 팬명록 잘나온당 깔깔(사이트는 삭제예정)
수업들을 때 선생님께서 console로 매번 확인하셔서 귀찮지않나? 라고 생각했는데
이번 수업으로 생각이 확 바뀌었다 ㅋㅋㅋ
급할수록 돌아가라는 말이 있듯 버그를 안먹기위해서는 꼼꼼히 다시 한번 돌다리도 두들겨보고 가야겠다는 생각이 들었다.
절대절대 잊지말자 console.log!!!!!!